Let’s be real—not everyone has the luxury of a sprawling backyard for a compost pile. But here’s the good news: you don’t need one. Whether you’re in a tiny apartment, a townhouse with a postage-stamp patio, or just short on outdoor space, you can still turn banana peels and coffee grounds into nutrient-rich compost. All you need is a container and a little know-how.
Why Bother with Container Composting?
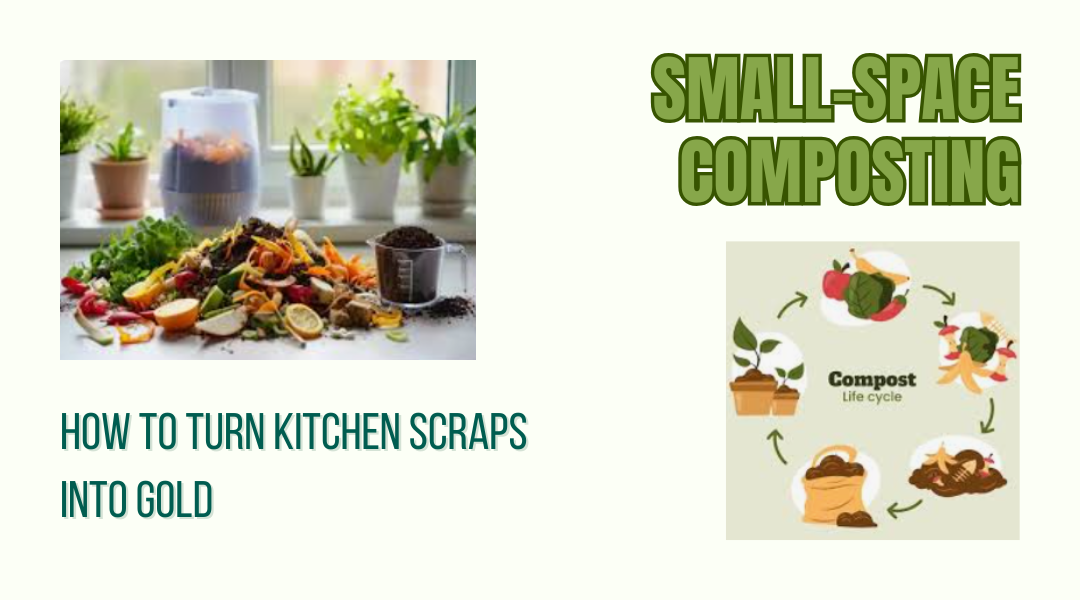
Composting isn’t just for rural homesteaders. Even if you’re growing herbs on a windowsill or tomatoes in pots, homemade compost gives your plants a serious boost. Plus, it cuts down on food waste, reduces landfill contributions, and—let’s be honest—feels a little like kitchen alchemy.
Your Container Options (No Fancy Gear Needed)
Forget expensive setups. You can repurpose stuff you already own:
- Plastic storage bins (the kind hiding in your garage)
- 5-gallon buckets (leftover from paint or cat litter)
- Wooden crates (lined with cardboard to prevent leaks)
- Old trash cans (drill holes for airflow)
Pro Tip: If you want to splurge, a tumbling composter speeds things up—but it’s not a must. (More on that later.)
DIY Compost Bin in 5 Minutes
Grab an 18-gallon plastic tote and follow these steps:
- Poke holes—Drill or stab vents along the sides, bottom, and lid (about 2 inches apart).
- Double up—Place a second container underneath to catch “compost tea” (a.k.a. liquid fertilizer).
- Location, location—Keep it under the sink, on a balcony, or even in a closet (if you’re brave).
Warning: Skip the garage unless you enjoy the aroma of decomposing lettuce.
What Goes In (And What Doesn’t)
DO compost:
- Fruit/veggie scraps (chopped small)
- Coffee grounds + filters
- Crushed eggshells
- Shredded paper (no glossy stuff)
DON’T compost (unless you like pests):
- Meat, dairy, or oily foods (in open bins)
- Pet waste
- Diseased plants
The Lazy Person’s Guide to Odor-Free Scrap Storage
Nobody wants a stinky kitchen. Try these hacks:
- Freezer method: Toss scraps in a bag and freeze until bin day.
- Coffee can: Seal scraps in an old Folgers tin (fridge optional).
- Fancy crock: Get a countertop compost pail with a charcoal filter (~$25).
Tumblers: Worth the Hype?
Tumbling composters promise fast results, but they’re not magic.
Pros:
- Pest-proof (raccoons can’t raid it).
- Faster breakdown (3–6 weeks if you spin it regularly).
- Good for meat/dairy (if you’re careful).
Cons:
- Pricey ($100+ for a decent one).
- Small capacity (you’ll fill it fast).
- Winter slowdown (cold temps = lazy microbes).
Verdict: Great for urbanites with pest problems, but a DIY bin works just fine.
Maintenance: The Bare Minimum
- Keep it damp—Like a wrung-out sponge.
- Stir occasionally—A garden fork or stick does the trick.
- Patience pays—Even slow compost beats store-bought fertilizer.
Final Thought
You don’t need acreage to compost. A bucket, some scraps, and a little time are all it takes to turn waste into garden gold. So go ahead—give those veggie peels a second life. Your plants (and the planet) will thank you.